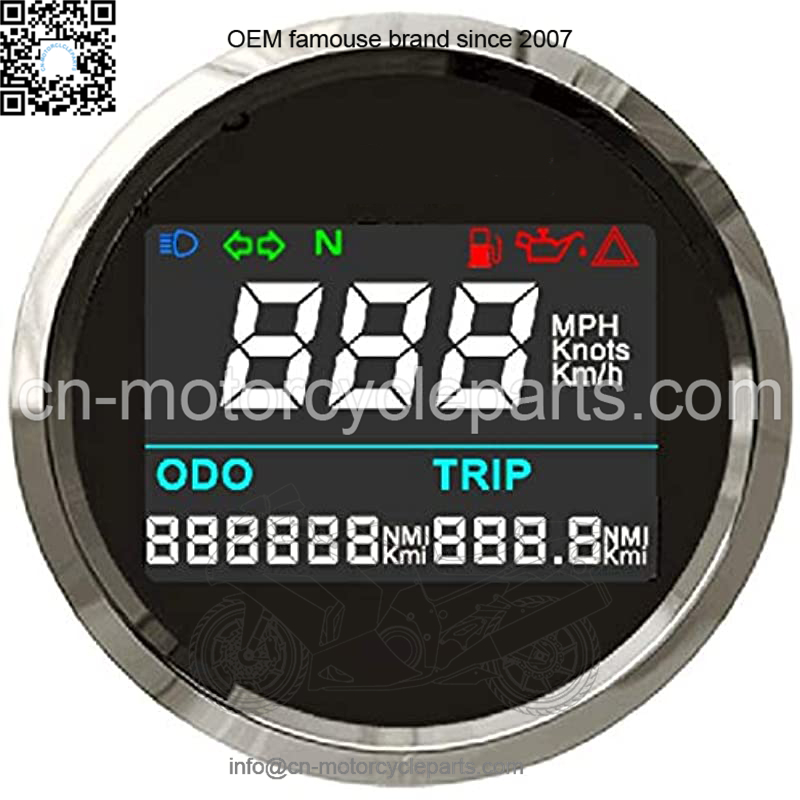
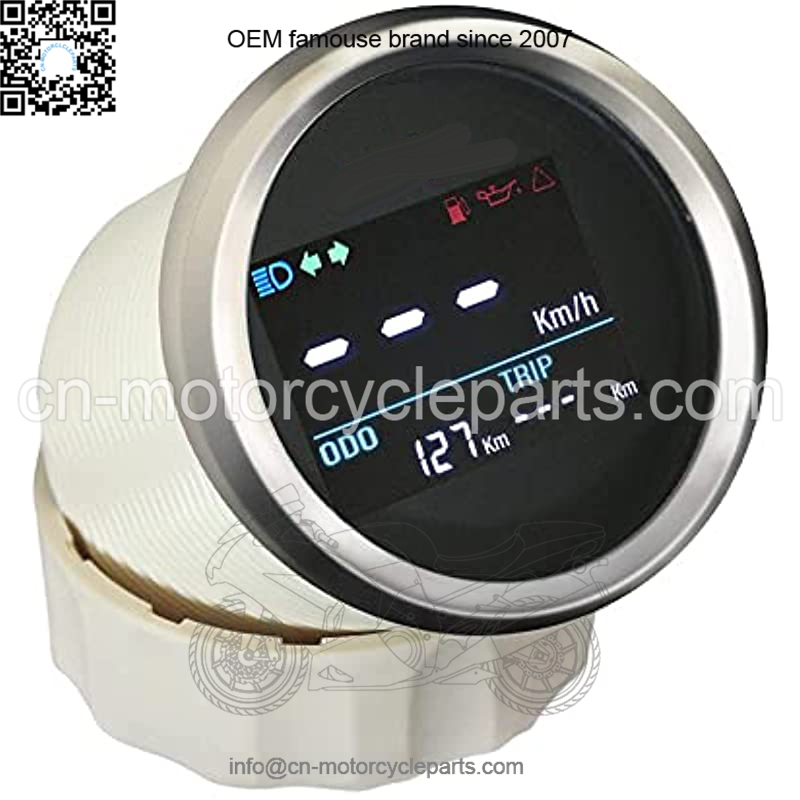
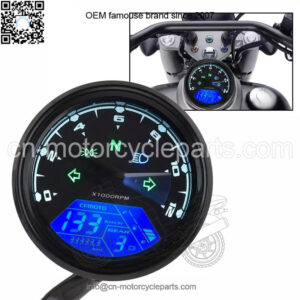
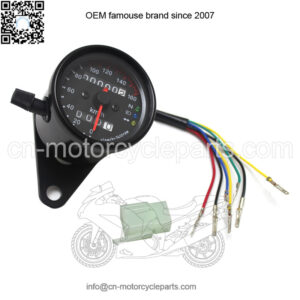
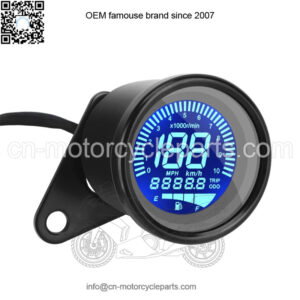
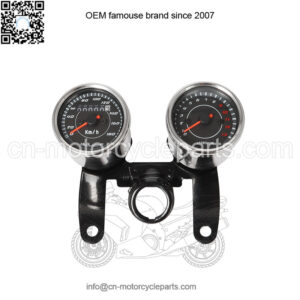
Digital GPS Adjustable Odometer Trip Meter for Boat Yacht Motorcycle Car 2″ Universal Type 12V 24V
Product categories
- ATV Accessories (47)
- ATV Air&Oil Filters (9)
- ATV Axles (275)
- ATV Ball Joint (29)
- ATV Bearings (44)
- ATV Body (4)
- ATV Brakes (16)
- ATV Bushings (1)
- ATV Cable (13)
- ATV Carburetor (7)
- ATV Cargo Bag/Luggage (14)
- ATV Chain (5)
- ATV Clutch Accessories (1)
- ATV Covers (12)
- ATV Drive Belt (25)
- ATV Drive Clutch (1)
- ATV Fender (1)
- ATV Foot Controls (1)
- ATV Fuel Pump (12)
- ATV Fuel Tanks (2)
- ATV Gasket (3)
- ATV Handguard (1)
- ATV Handlebars (2)
- ATV Ignition Coil (35)
- ATV Lighting (4)
- ATV Mirrors (25)
- ATV Parts (4105)
- ATV Seats & Covers (11)
- ATV Solenoid (6)
- ATV Starter (3)
- ATV Suspension (17)
- ATV Switch (3)
- ATV Tach/Hour Meter (8)
- ATV Tools (4)
- ATV Wheels and Tires and rim (23)
- ATV Winches & Mounts (47)
- ATV Windshields (3)
- Bicycle Parts (3)
- Car Parts (2135)
- Go Kart Parts (5)
- Golf Cart Parts (339)
- Honda Shock (244)
- Kawasaki Shock (52)
- Lawn Mower Parts (750)
- Minibike Parts (1)
- Motorboat Parts (26)
- Motorcycle Accessories (1207)
- Motorcycle Air Filter (284)
- Motorcycle Axle (49)
- Motorcycle Axles (3)
- Motorcycle Battery Charger (36)
- Motorcycle Bearings (35)
- Motorcycle Body (1528)
- Motorcycle Brakes (883)
- Motorcycle Bushing (1)
- Motorcycle Cables (78)
- Motorcycle Carburetor (244)
- Motorcycle Chains (24)
- Motorcycle Clutches (146)
- Motorcycle Covers (638)
- Motorcycle Drive belt (81)
- Motorcycle Engine (117)
- Motorcycle Exhaust Muffler Pipe (175)
- Motorcycle Exhaust Pipe (27)
- Motorcycle Fender (224)
- Motorcycle Foot Pedal (130)
- Motorcycle Fuel Pump (187)
- Motorcycle Gear (13)
- Motorcycle Graphics and Decals (5)
- Motorcycle Handlebars (643)
- Motorcycle Heaters (17)
- Motorcycle Ignition Coil (82)
- Motorcycle Light Kits (573)
- Motorcycle Mirrors (593)
- Motorcycle Parts (5378)
- Motorcycle Rectifier/Regulator (126)
- Motorcycle Seat (43)
- Motorcycle Seats & Covers (503)
- Motorcycle Solenoid (63)
- Motorcycle Sprockets (12)
- Motorcycle Starter (44)
- Motorcycle Steering (13)
- Motorcycle Suspension (495)
- Motorcycle Switch (525)
- Motorcycle Tach/Hour Meter (117)
- Motorcycle Tools (470)
- Motorcycle Wheels and Tires and rim (20)
- Motorcycle Wheels and Tires and rims (1)
- Motorcycle Windshield (9)
- Motorcycle Windshields (411)
- Other Parts (44)
- Scooter Parts (98)
- Snowmobile Parts (405)
- Suzuki Shock (60)
- Tractor Parts (181)
- Uncategorized (1)
- UTV Parts (1433)
- Yamaha Shock (266)
Product tags
Digital GPS Adjustable Odometer Trip Meter for Boat Yacht Motorcycle Car 2″ Universal Type 12V 24V
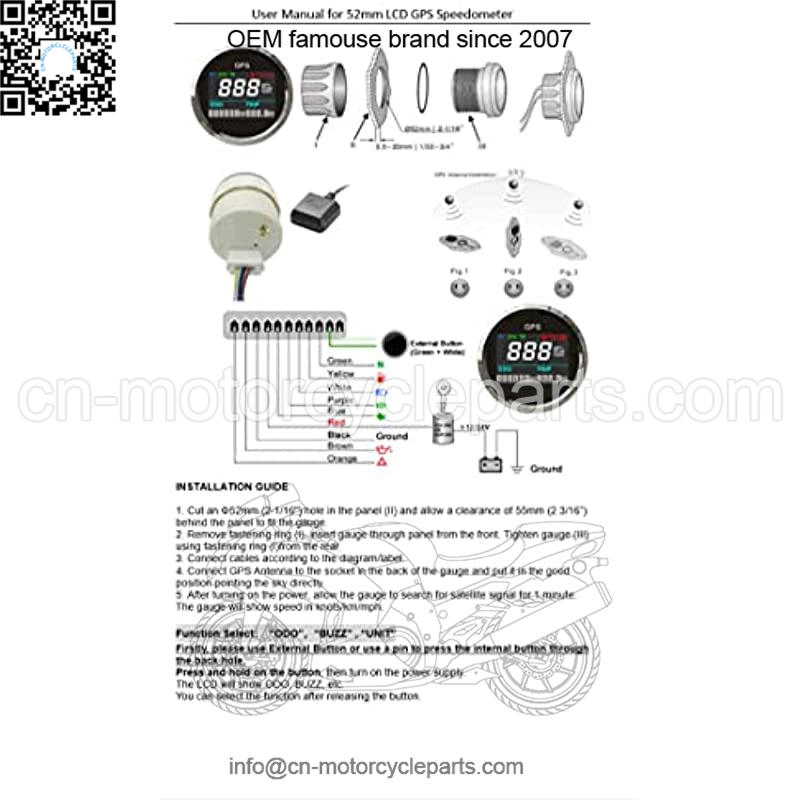
Open a 52mm (2-1/16″) hole in the dashboard and allow a clearance of 55mm( 2 3/16 ) behind the panel to fit the gauge
Connection: Green+White-External Button, Green-N, Yellow-Fuel Level, White-High Beam, Purple-Right turn, Blue-Left turn, Red-power(+), Black-power(-), Brown-Oil Pressure, Orange-Hazard warning lamp
Securely fasten GPS antenna, preferably outdoors (or inside front windscreen) so that it has a clear view of the sky to pick up satellite signal. Connect the antenna cable to socket in the back of the gauge. Do not cut cable
Trip Resetable and Odometer Adjustable, Speed Range: 0-999(, Knots, KM/H adjustable), Mileage Range: 0-999999 (Mi,NMI,KM available)
9-32V Working Voltage, OverSpeed Buzzer Alarm, GPS Blind Area Odometer Compensation Product Features:
-Suitable for all vehicles, marine vessels and off-road vehicles
-The signal comes directly from the satellite signal receiver(GPS Antenna), don t need other speed sensor.
-The gauge has the advantages of high precision, quick location confirmation and short start up time.
-IP67 waterproof and dustproof grade -Reverse polarity protection and anti-fogging performance
-No Stationery Drift
-Stepper motors used for full range of stepping gauges, great feature with its less power consumption, longer life, higher precision, etc.
Product Introduction
How to install it
1. Cut an 52mm (2 1/16″) hole in the panel (II) and allow a clearance of 55mm (2 3/16 ) behind the panel to fit the gauge.
2. For the GPS antenna, you should securely fasten it, black side upwards, preferably outside (or inside front windscreen) so that it has a clear view of the sky to pick up satellite signal. Connect the antenna cable to socket in the back of the gauge. And do not cut cable.
GPS keeps counting
1. After installation in the first time, GPS needs to search for signal, that’s the reason that LCD counts numbers all the time.
2. After getting signal, LCD will come back to 0. It is normal.
How to set unit
1. Press the back button for 2-3 seconds first and then turn on the power supply;
2. Release the button after seeing UNIT ;
3. Choose the unit you need (km/h, , knots)
4. After adjustment, release button, and wait for menu to complete flashing.
5. Turn off the power supply, and turn on again. will record the setting.
How does GPS odometer compensation work
When the device enters tunnel/bridge without no GPS signal, the inside flash memory will record the last valid GPS longitude and latitude.
And the device will get valid GPS longitude and latitude again when leaving tunnel/bridge.
The CPU inside will calculate the two GPS data to use algorithm to add the lost odometer when in tunnel/bridge.
Technical Data
Fixing dimension
52mm(2″)
Indicating Range
0~999 (, Knots, Km/h adjustable)
Unit
(Mi), Knots(NMI) and Km/h (KM) by Backside Button
Total Mileage Range
0-999999 (Mi,NMI,KM available)
Working Voltage
12V/24V
OverSpeed Buzzer Alarm
Value Adjustable
Working temperatures
– 40 to 85 C
Operation mode
LCD display, stepper motor
FAQ
ASIN NO. B07NVN9QRB
How to Set Odometer
1. Press the back button for 2-3 seconds first and then turn on the power supply;
2. Release the button after seeing ODO ; Press the button to change the flashing digit from 0 to 999999 to set up the target odometer value;
3. After adjustment, release button, and wait for menu to complete flashing.
4. Turn off the power supply, and turn on again. will record the setting.
ASIN NO. B07KP8DC7N
How to reset trip odometer to zero
Press the back button or external button for 2-3 seconds first and then the trip odometer will reset to zero.
ASIN NO. B07KPBWNN3
How to change “BUZZ”
1. Press the button for 2-3 seconds first and then turn on the power supply;
2. Release the button after seeing BUZZ ; Press the button to change the flashing digit from 10 to 240 to set up the target overspeed buzzer alarm threshold value;
3. After adjustment, release button, and wait for menu to complete flashing.
4. Turn off the power supply, and turn on again. will record the setting.
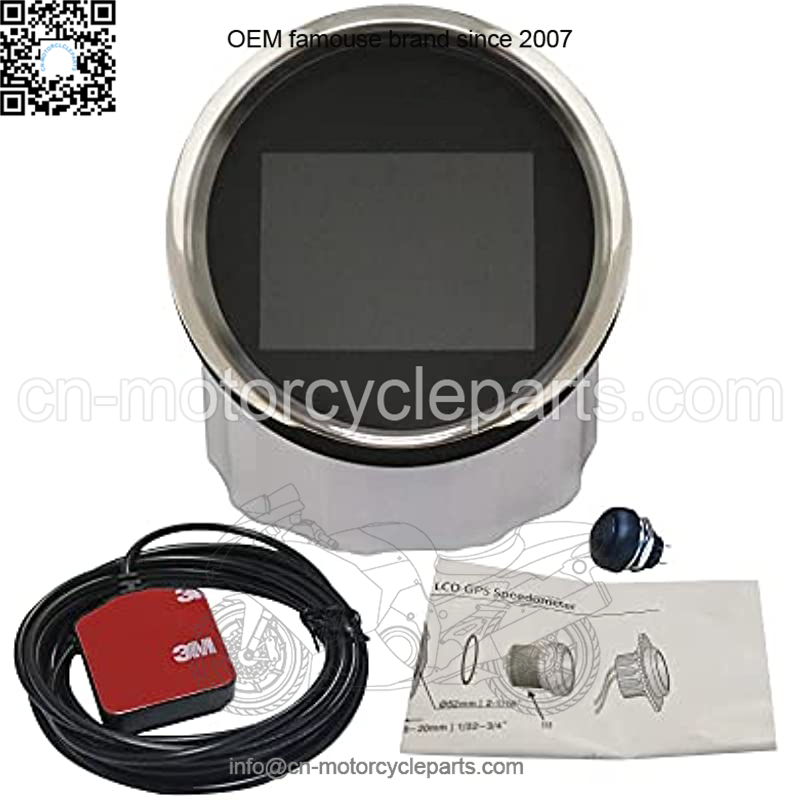
Package Includes:
1x GPS
1x GPS Antenna
1x Multi-plug socket
1x Installation Instruction
1x External Button
Related products
-
Motorcycle Tach/Hour Meter
New motorcycle meter baboon LCD meter motorcycle odometer tachometer speedometer LCD oil meter
